A few weeks ago I tore apart the interior to see where I'd run my lines.
Well, this weekend I got to work and ran four 25' lengths of 3/8" line. It was not easy... it's 1145PM on Sunday and I just finished up after working at it for 2 days straight. I think it's worth the extra effort though, it makes for a clean installation:
Passenger footwell. Cut the hole and ran the lines through to the engine bay:

Insulated, braced and sealed up:

This piece of sound insulation covers the lines, and then a sheetmetal cover goes right over it. I had to trim the foam to get it to fit over the lines:
Here it is with the footwell panel back in. I've taken a piece of the foam from the bottom of the carpet, trimmed it up and run the lines right down the middle, so the lines have insulation over and under them. There is a brace that goes across the passenger side, with an opening for the rear seat heat vent. I lengthened that opening with an angle grinder. The carpet just drops over this:
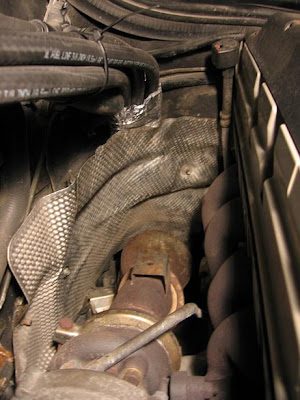
Here are the same lines, where they come through the firewall:
Insulated, braced and sealed in:
Back inside, looking at the lines from the back seat area. You can just bareley see that the front passenger carpet is back in. You can also see where the lines pass through the enlarged opening in that brace.
The lines are now insulated, and you can see where I trimmed the foam under teh carpet, to make room for the lines. This took a couple tries before I was able to get the carpet down nice and flat.
The lines then come in beside the battery. I had to enlarge the hole where the positive battery cable passes down by the floor. Before insulating the lines, I had to get the shape JUST RIGHT in order to have the rear seat fit properly. I taped the lines up to get the correct shape, then isulated them:
The lines go up along the door opening, and then pass through to the trunk. You can see the foam grommet that was cut for the lines.
To get the seat to fit over the lines, A bit of the plastic "shell" needs to be cut away, about
6 inches by 4 inches:

I also ran the wires for the fuel valves switch, controller, gauges and indicator lights. From teh engine bay, they pass through a grommet right behind the brake booster:

From the inside, you can see where they come in right above the emergency brake. I ran them in behind the sound insulation pad, where they come out beside the gas pedal. From there, it's pretty easy to pass them up to the center console.

All in all, very awkward, finicky work. I had hoped to do this in a day but it took twice that. However, I didn't want to rush it. For one thing, I didn't want to end up with humps in the carpet or trim that doesn't fit back in properly. More importantly, I wanted to avoid RATTLES. I think there are more fasteners and clips for the Benz's interior than there are in a whole VW. It's time consuming and sometimes frustrating to get them all back in place and lined up (especially when you know two would probably do the job), but it would drive me BONKERS to have rattles and squeaks. When you tear this stuff apart, it's not uncommon to have new, obnoxious noises afterwards.
Once I got it all back together, I took it for a drive and there were none. Success!


No comments:
Post a Comment